Category
Desserts
Butter cookies are a recipe that gives me a lot of satisfaction.
With them, I won the hearts of the youngest of my house. Those little people, full of smiles and culinary demands, often fall in love with my cookies and do not hesitate to ask for more. They love the flavor, but above all, the dreams that I try to make accurate with the designs and colors.
I love cooking these cookies with my children and their friends. They, obviously, feel super motivated and happy to be able to help in the kitchen. It is a way to share with the family, to let them put all their creativity at the service of the kitchen.So, forget to think for a moment about cleaning your kitchen and give a moment to your children, who will never forget. And you will remember me, so “hands on the cookies.”
Ingredients
Directions
- Preheat the oven to 180 degrees.
Helping yourself with an electric mixer at medium-high speed, beat the sugar and butter until creamy. While stirring, add the egg, vanilla, salt, and, if you prefer, the lemon zest or the almond extract. In a bowl, sift the flour with the baking powder. Slow down the mixer to a minimum and add the flour little by little.
Stop the blender, pass the dough to a clean, floured surface, and knead until it forms a homogeneous dough and divides it into two equal parts.
Sprinkle the work table with flour again and, supporting yourself with a roller, extend one of the two parts, leaving it at an approximate height of about half an inch.
Cut your cookies with the cutter of your choice.
With a metal spatula, carefully lift your cookies and transfer them to a baking sheet. Make the same process with the second part of the dough and extend and cut until you have more dough to cut. Keep in mind that the cookies will grow a little while baking, so try not to put them close to each other on the tray.
Bring your cookies to the oven and bake them for about 8 minutes. After this time, remove them from the oven and immediately remove them with your metal spatula to prevent them from sticking in the tray.
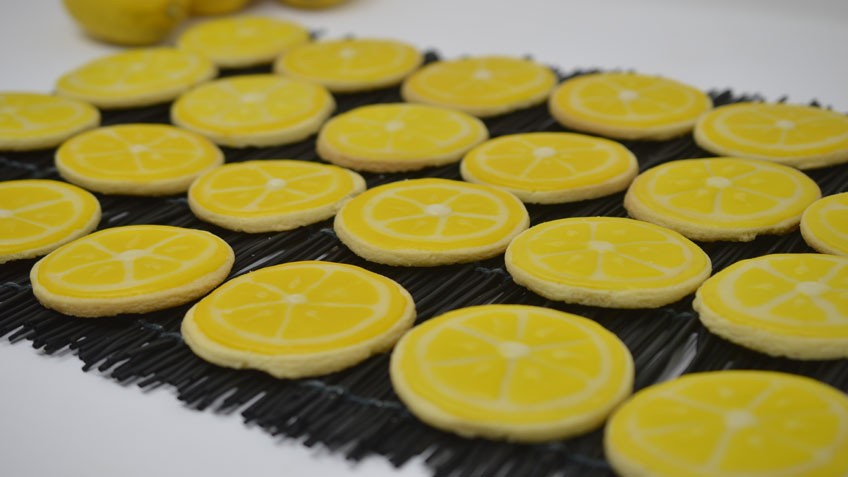
Once hardened, transfer the cookies to a grill to let them cool, and paint them with the colors and designs you have previously chosen. (see the video of our tutorial to paint cookies)
You can find as well our glaze for cookies at https://www.kikas-kitchen.com/blogs/europe/glaze-to-decorate-cookies
